Anyone who’s tried formatting their eBook themselves will tell you it’s no small feat. There are hundreds of conversion programs and Kindle “meatgrinders” that promise clean Kindle files, yet deliver a file full of gobbledygook. Some common formatting issues include wacky spacing, entire sections or chapters bolded and italicized, paragraphs split up, text flowing behind pictures and more.
If your Kindle book has bullet points, graphics, tables, block quotes or any other special formatting issues, this tutorial may not work for you. All those issues insert extra code that translates into “junk” code when the .doc file is turned into a bundle of XHTML files. Getting rid of the junk code requires a solid knowledge in XHTML programming and bundling in EPUB and MOBI formats. However if your eBook does not contain these formatting issues, here are 6 Easy Steps to turn your Microsoft Word document into a Kindle book:
STEP 1: TYPE IT CLEAN
Use the default settings in Microsoft Word. Don’t justify your text, don’t hit “Enter” twice after a paragraph to insert extra space, never ever hit “Enter” over and over again to get your next chapter on a new page and don’t use tabs to begin paragraphs. You can customize some settings like first paragraph indents and spacing between paragraphs, but keep in mind every customization you make is a chance for more junk code to sneak into your Kindle file.
STEP 2: INSERT PAGE BREAKS
After you’ve closely followed Step 1, start at the top of the document, place your cursor at the beginning of each section and chapter and hold down the “Ctrl” or “Cmnd” key on your keyboard and hit “Enter.” This will start each section on a new page and insert the proper code for the Kindle file letting the eBook software know that section is to begin on a new screen.
Most eBooks consist of the following sections created with page breaks:
- Title page, including author’s name and publishing house (if applicable)
- Copyright page
- Dedication
- Acknowledgements
- Table of Contents
- Foreword (if applicable)
- Introduction
- Body/Chapters
- Conclusion
- About the Author
- Appendices including Bibliography, Glossary and Advertisements
- Index (only when using a professional eBook programmer
While making your page breaks, remember to leave one blank page for your Table of Contents.
STEP 3: APPLY STYLES
Starting at the top of the document again, go through your entire book and apply the default “Heading 1” style to each section or chapter title (ie: Introduction, Foreword, Chapter 1… etc.) and the default “Heading 2” style to any subheadings throughout your book that you want to appear in the Table of Contents. If you don’t care if subheadings appear in the Table of Contents, you can just make them bold. The important thing is to set them apart so your reader knows you’re making a new point.
This step can also be done during the writing process, and the default styles in Microsoft Word can be customized. Keep in mind font types are limited on Kindle software, so it’s usually best practice to stick with the default font. The more you customize your fonts, sizes, colors, etc., the more information gets translated into the code and can potentially be turned into junk code causing issues down the line. Keep it simple.
STEP 4: CREATE YOUR TABLE OF CONTENTS (TOC)
Microsoft Word has the built-in capability to link styles with Table of Contents listings. Each version of Word is different, so I recommend you consult the “Help” menu for instructions. Usually the TOC commands can be found under a “References” tab.
Using this built-in system, determine what you want your TOC to look like. For example, if you wanted subheadings from Step 3 to appear in your TOC, be sure to choose settings that include subheadings (“Heading Style 2”) in the listing.
Place your cursor at the beginning of the blank page you reserved for your TOC in Step 2 and insert it there. Everything should be hyperlinked. Page numbers will probably appear as well, but these will disappear during the conversion process.
STEP 5: CONVERT TO MOBI
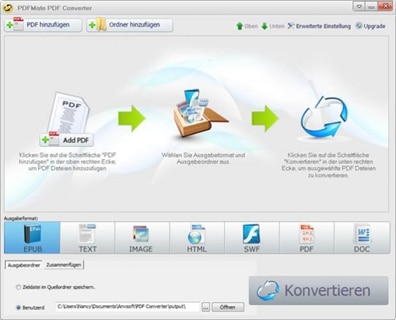
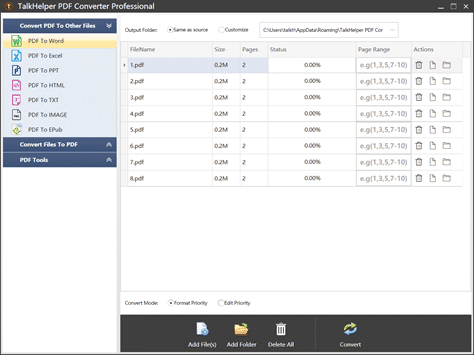
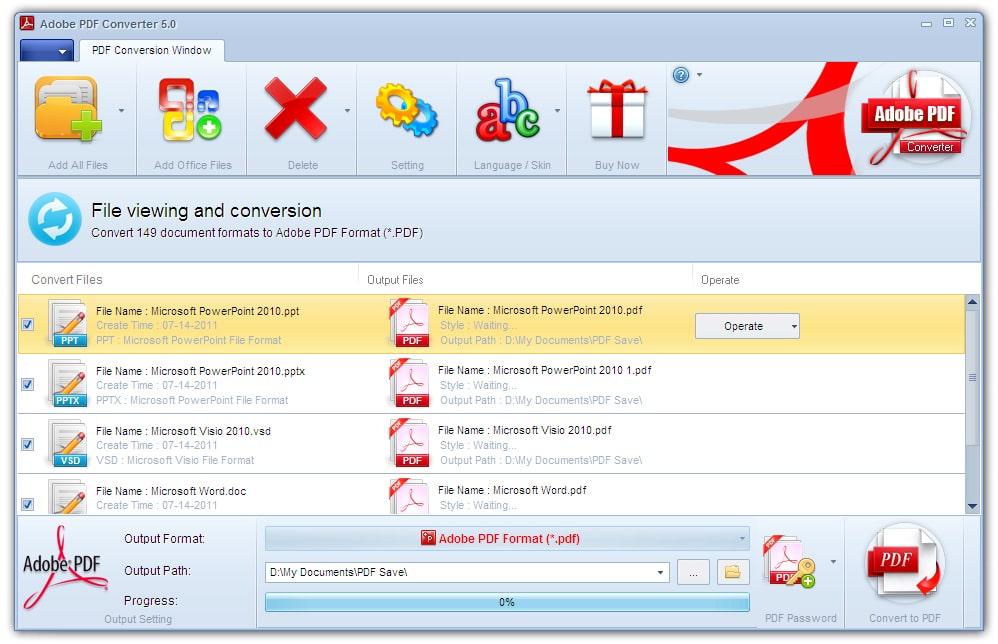
If you’ve followed Steps 1-4 carefully and don’t have much (if any) extra special formatting issues such as bullet points, images, tables, etc., you can use a converter tool to create your MOBI file, which is the file format recognized by Kindle devices and apps.
Keep in mind even though the Kindle Previewer app gives you the option to preview what your eBook will look like on multiple devices, it doesn’t always show everything the same way a real Kindle device will, so it’s always best practice to copy your MOBI file onto an actual Kindle and preview it that way. I preview my eBooks on both my Kindle Keyboard and Kindle Fire to make sure they’re readable.
STEP 6: UPLOAD!
At this stage you’re ready to upload your eBook to Amazon’s Kindle Direct Publishing (KDP) system. Sign up for an account at KDP.Amazon.com and fill out the information about your eBook. Click “Publish” and within 48 hours your eBook will appear on Amazon.com for sale!
Congratulations! You just completed a Kindle book in six easy steps!
Source : best-selling author Kristen Eckstein.


 3:05 AM


